 Yogesh Hegde
Installing Tools for the Pre-office Office
This guide will help you install tools for Pre-office Office module.
Requirements
- Laptop
- Good Internet connection.
- Atleast 60 mins of free time.
Step 1 : Check the version of Windows
To Check the Windows 10 version and build Info along with its System Type,
- From the Windows GUI, go to Settings, System, About.
- You should see your System Details in the Window.
![1_YyuULsN5nx7JZi7xw36K1Q]()

If your System Details are
- Windows 10 version 1903 or higher, if Windows 10 version 1903 then with Build 18362 or higher.
- Windows 10 System type: 64-bit.
If your System meets all the above requirements, then follow the guide below.
Click to see your steps!
Installing WSL 2
-
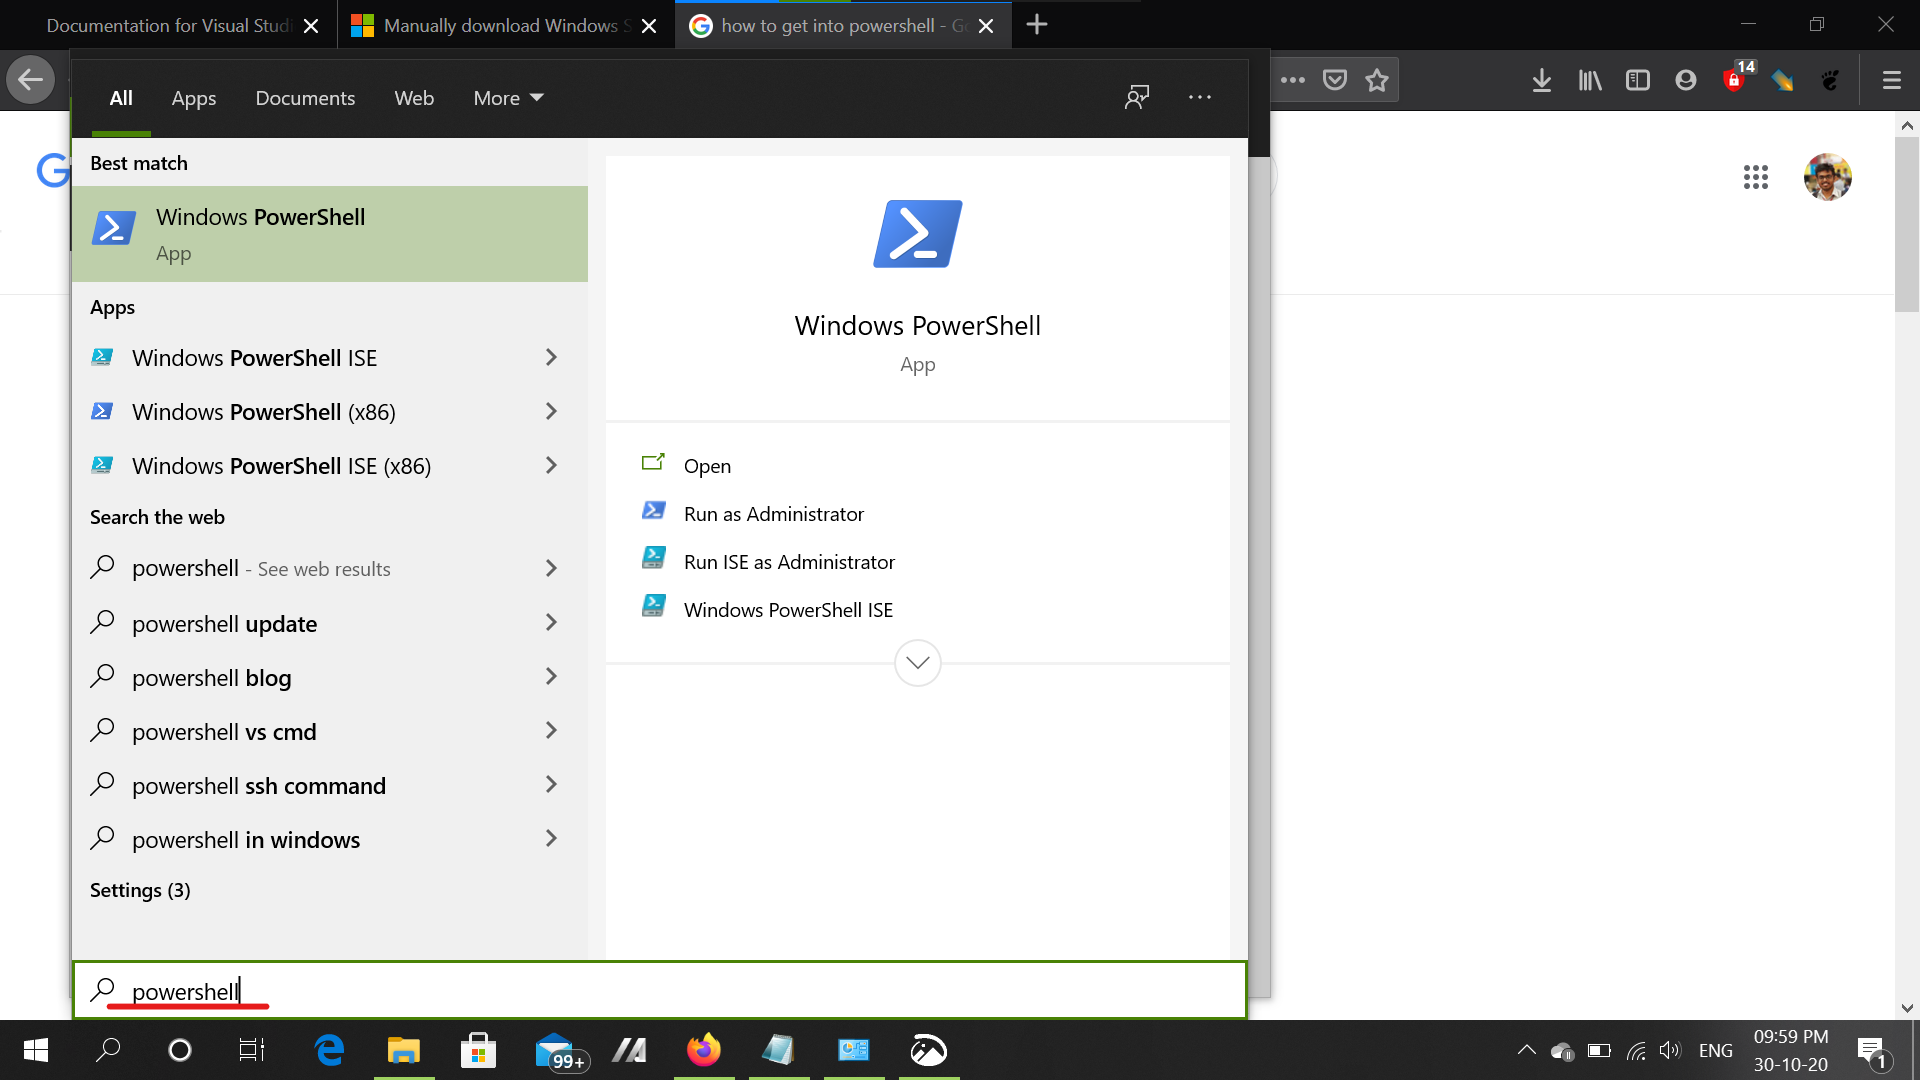
Press
Windows keyand Search for Powershell.![powershell]()
-
Click on "Run as Administrator". A blue terminal window will open up.
-
Enable WSL with powershell, by running command
dism.exe /online /enable-feature /featurename:Microsoft-Windows-Subsystem-Linux /all /norestart -
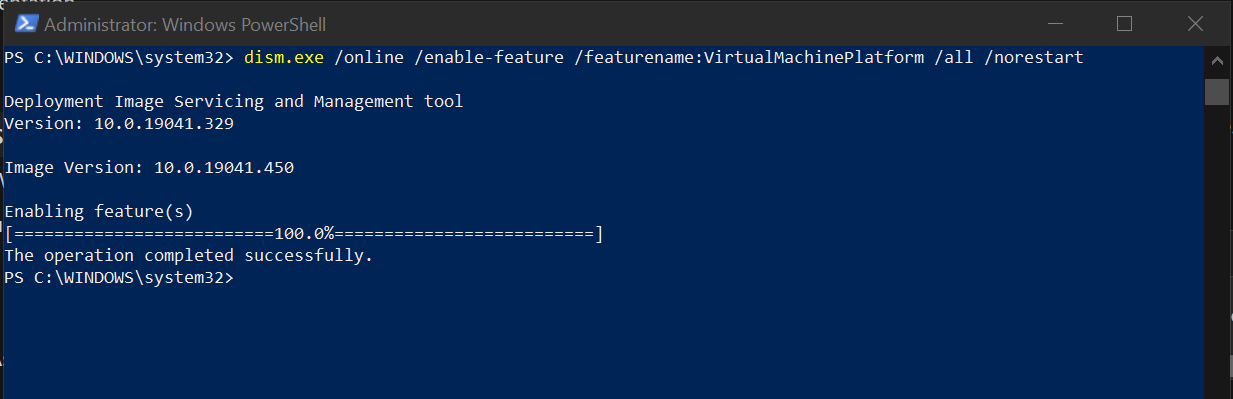
Enable Virtual machine settings for WSL
Enable-WindowsOptionalFeature -Online -FeatureName $("VirtualMachinePlatform","Microsoft-Windows-Subsystem-Linux")This command will ask you to restart your computer. Press
yand restart your computer.![enable-vm-wsl]()
-
Update to WSL version 2.
-
Download the WSL kernel update - https://wslstorestorage.blob.core.windows.net/wslblob/wsl_update_x64.msi
-
Install the update, by double clicking the
wsl_update_x64.msifile. -
Press
Windows keyand Search for Powershell.![powershell]()
-
Click on "Run as Administrator". A blue terminal window will open up.
-
Set default as WSL 2, by running the command in powershell.
wsl --set-default-version 2
-
-
Check if WSL is successfully installed by running command, in powershell
wsl -l -
After this you can close the powershell terminal window.
Installing Docker
-
Download Docker for Desktop, by visiting the link - https://hub.docker.com/editions/community/docker-ce-desktop-windows/ and clicking "Get Docker".
-
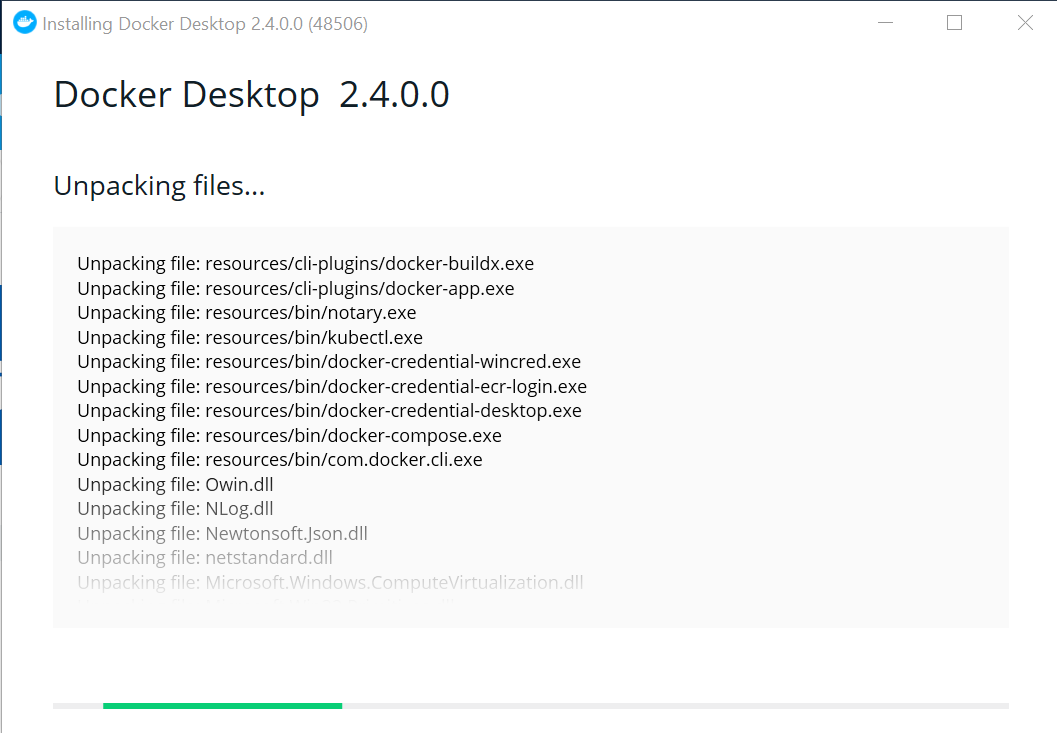
Install Docker by double clicking on the
Docker Desktop Installerfile. -
Installer will start installing the docker.
![installing-docker]()
-
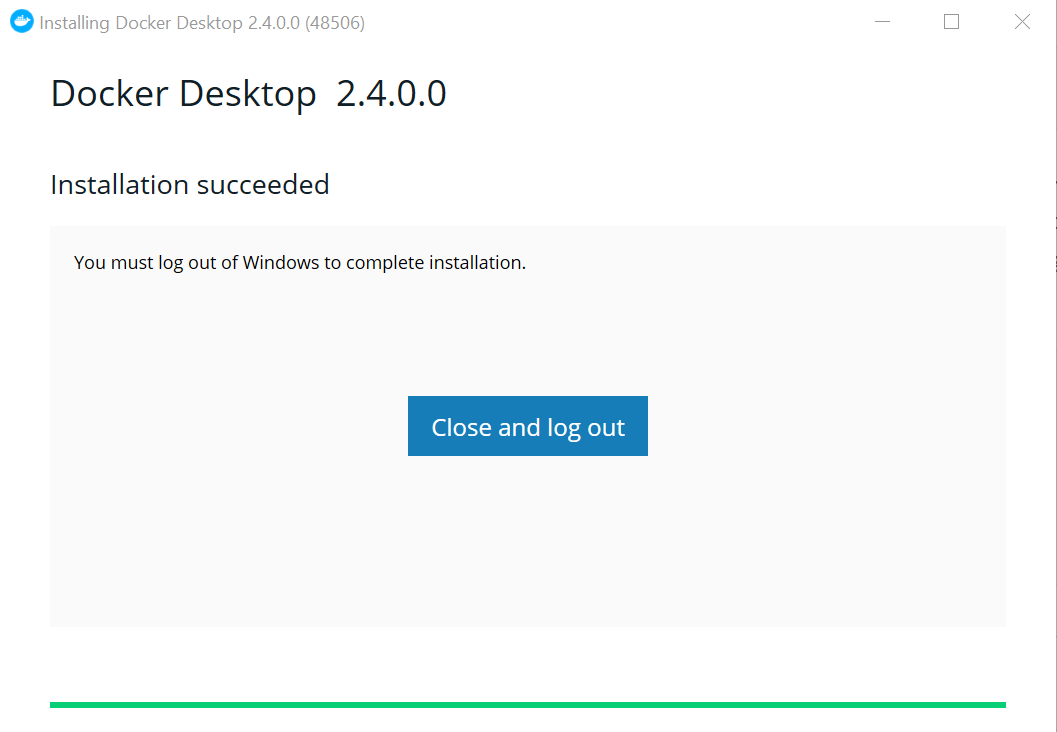
After the install completes, Click on close and Log out.
![installing-docker]()
-
This will log you out of your Windows and you will have to login again.
-
Check if the Docker is installed by running Docker Desktop app.
-
That is it done you have successfully installed Docker.
Installing Vscode
-
Download VScode from link - https://code.visualstudio.com/download
-
Install VScode by double clicking on the
VSCodeUserSetup-x64-1.50.1file. -
Open VScode.
-
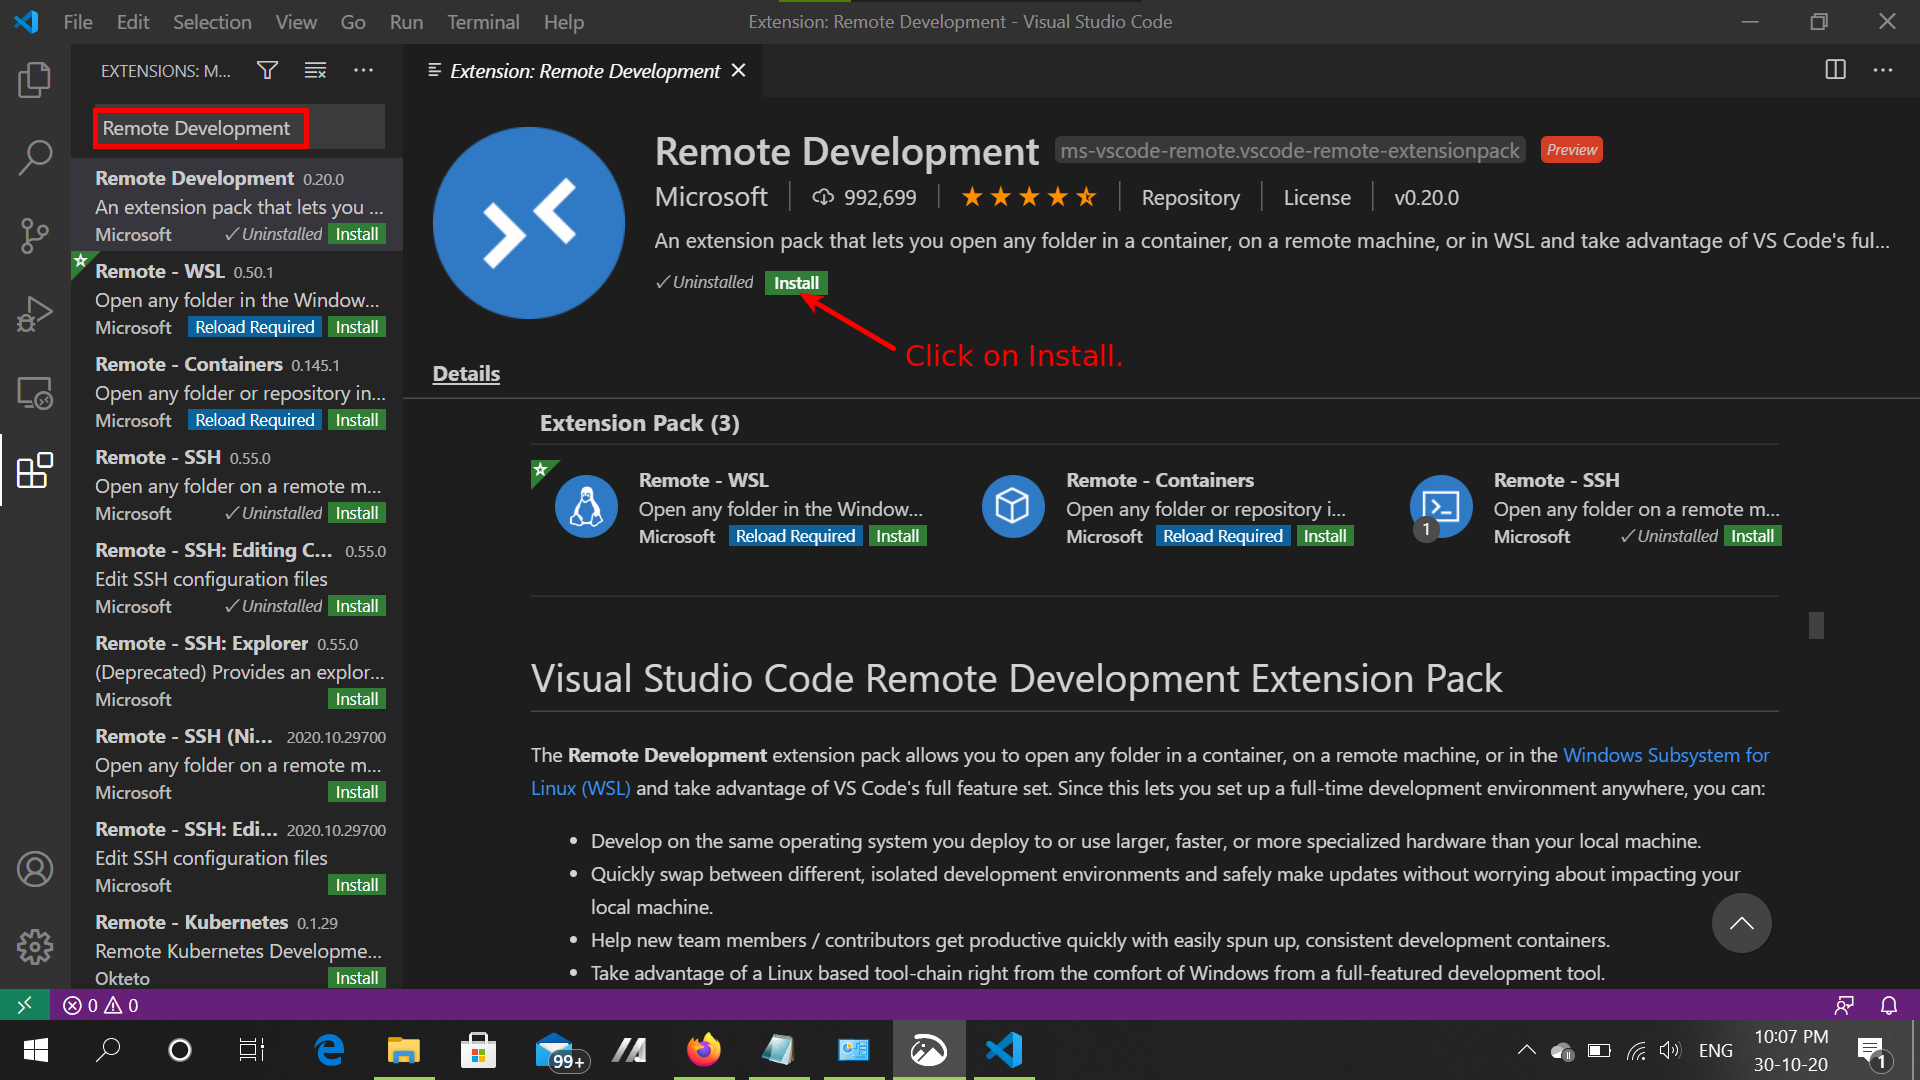
Select Extensions and Search for Remote Development.
![remote-develop]()
-
Install the Remote Development plugin.
-
Once Installed you can exit the Vscode.
If your System does not meet the above requirements, then follow the guide below.
Click to see your steps!
Installing Virtualbox
-
Download Virtualbox by clicking on this link - https://download.virtualbox.org/virtualbox/6.1.16/VirtualBox-6.1.16-140961-Win.exe
-
Install virtualbox by double-clicking the file
VirtualBox-6.1.16-140961-Win.exe -
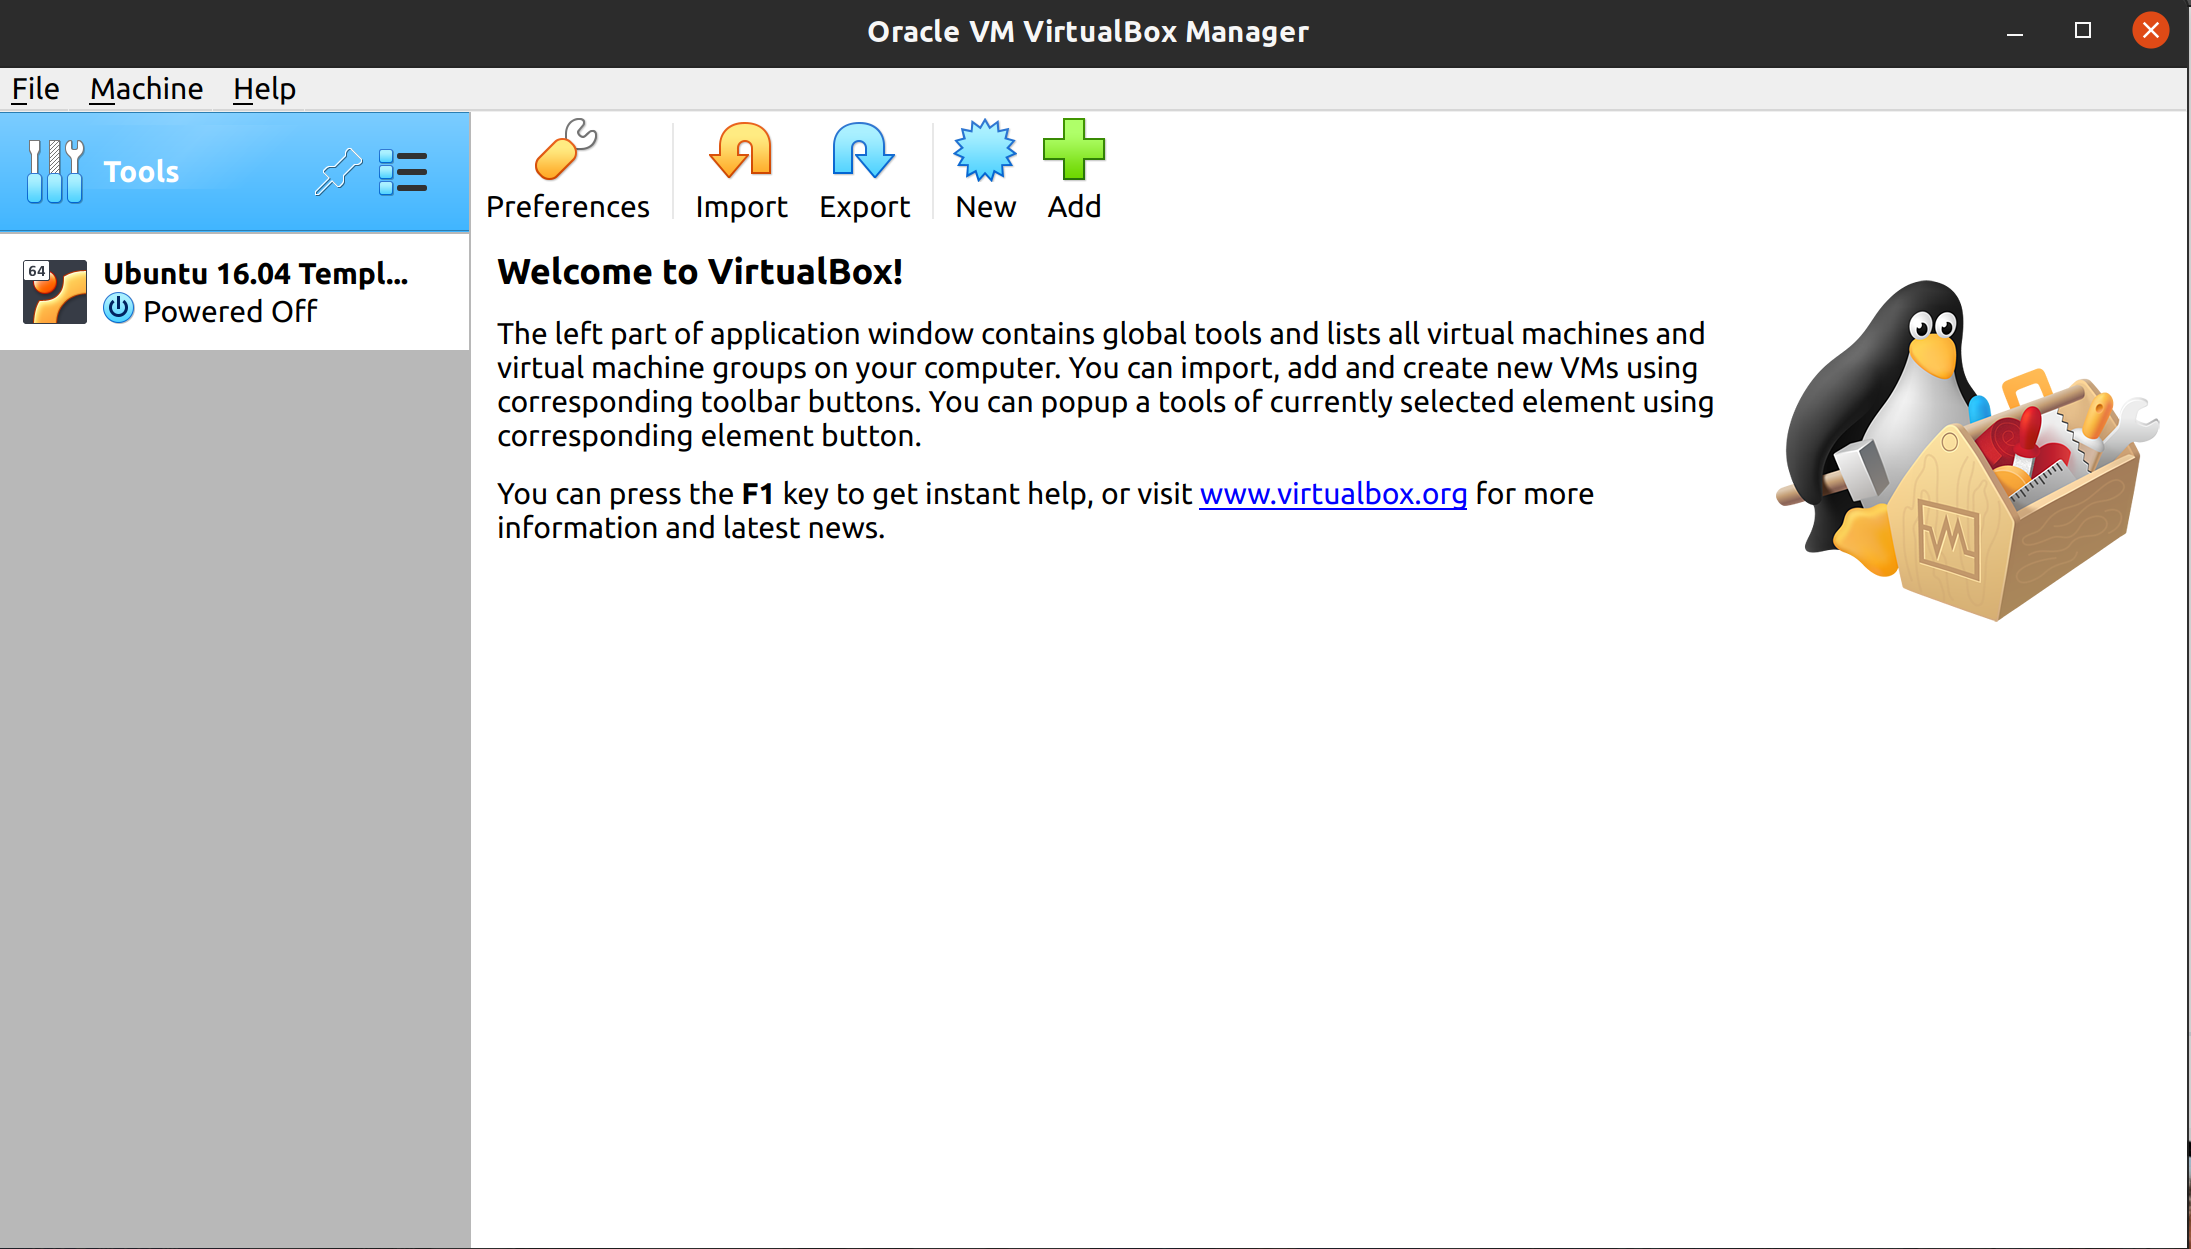
Run the Virtualbox from your Desktop to confirm that the Virtualbox has been installed.
![vb]()
Installing Ubuntu 16.04 in Virtualbox
-
Download the VMSDK file, by clicking on this link - http://148.251.91.243/downloads/UbuntuVM.ova.zip
- Note: Download size is 4.1GB, make sure you have high speed Internet and are able to download 4.5 GB
-
Extract
UbuntuVM.ova.zipfile, by Right-Click --> Extract. There should be a new file namedUbuntuVM.ovawith the size of 4.4 GB. -
Open Virtualbox, Go to File --> Import Appliance.
![vm]()
-
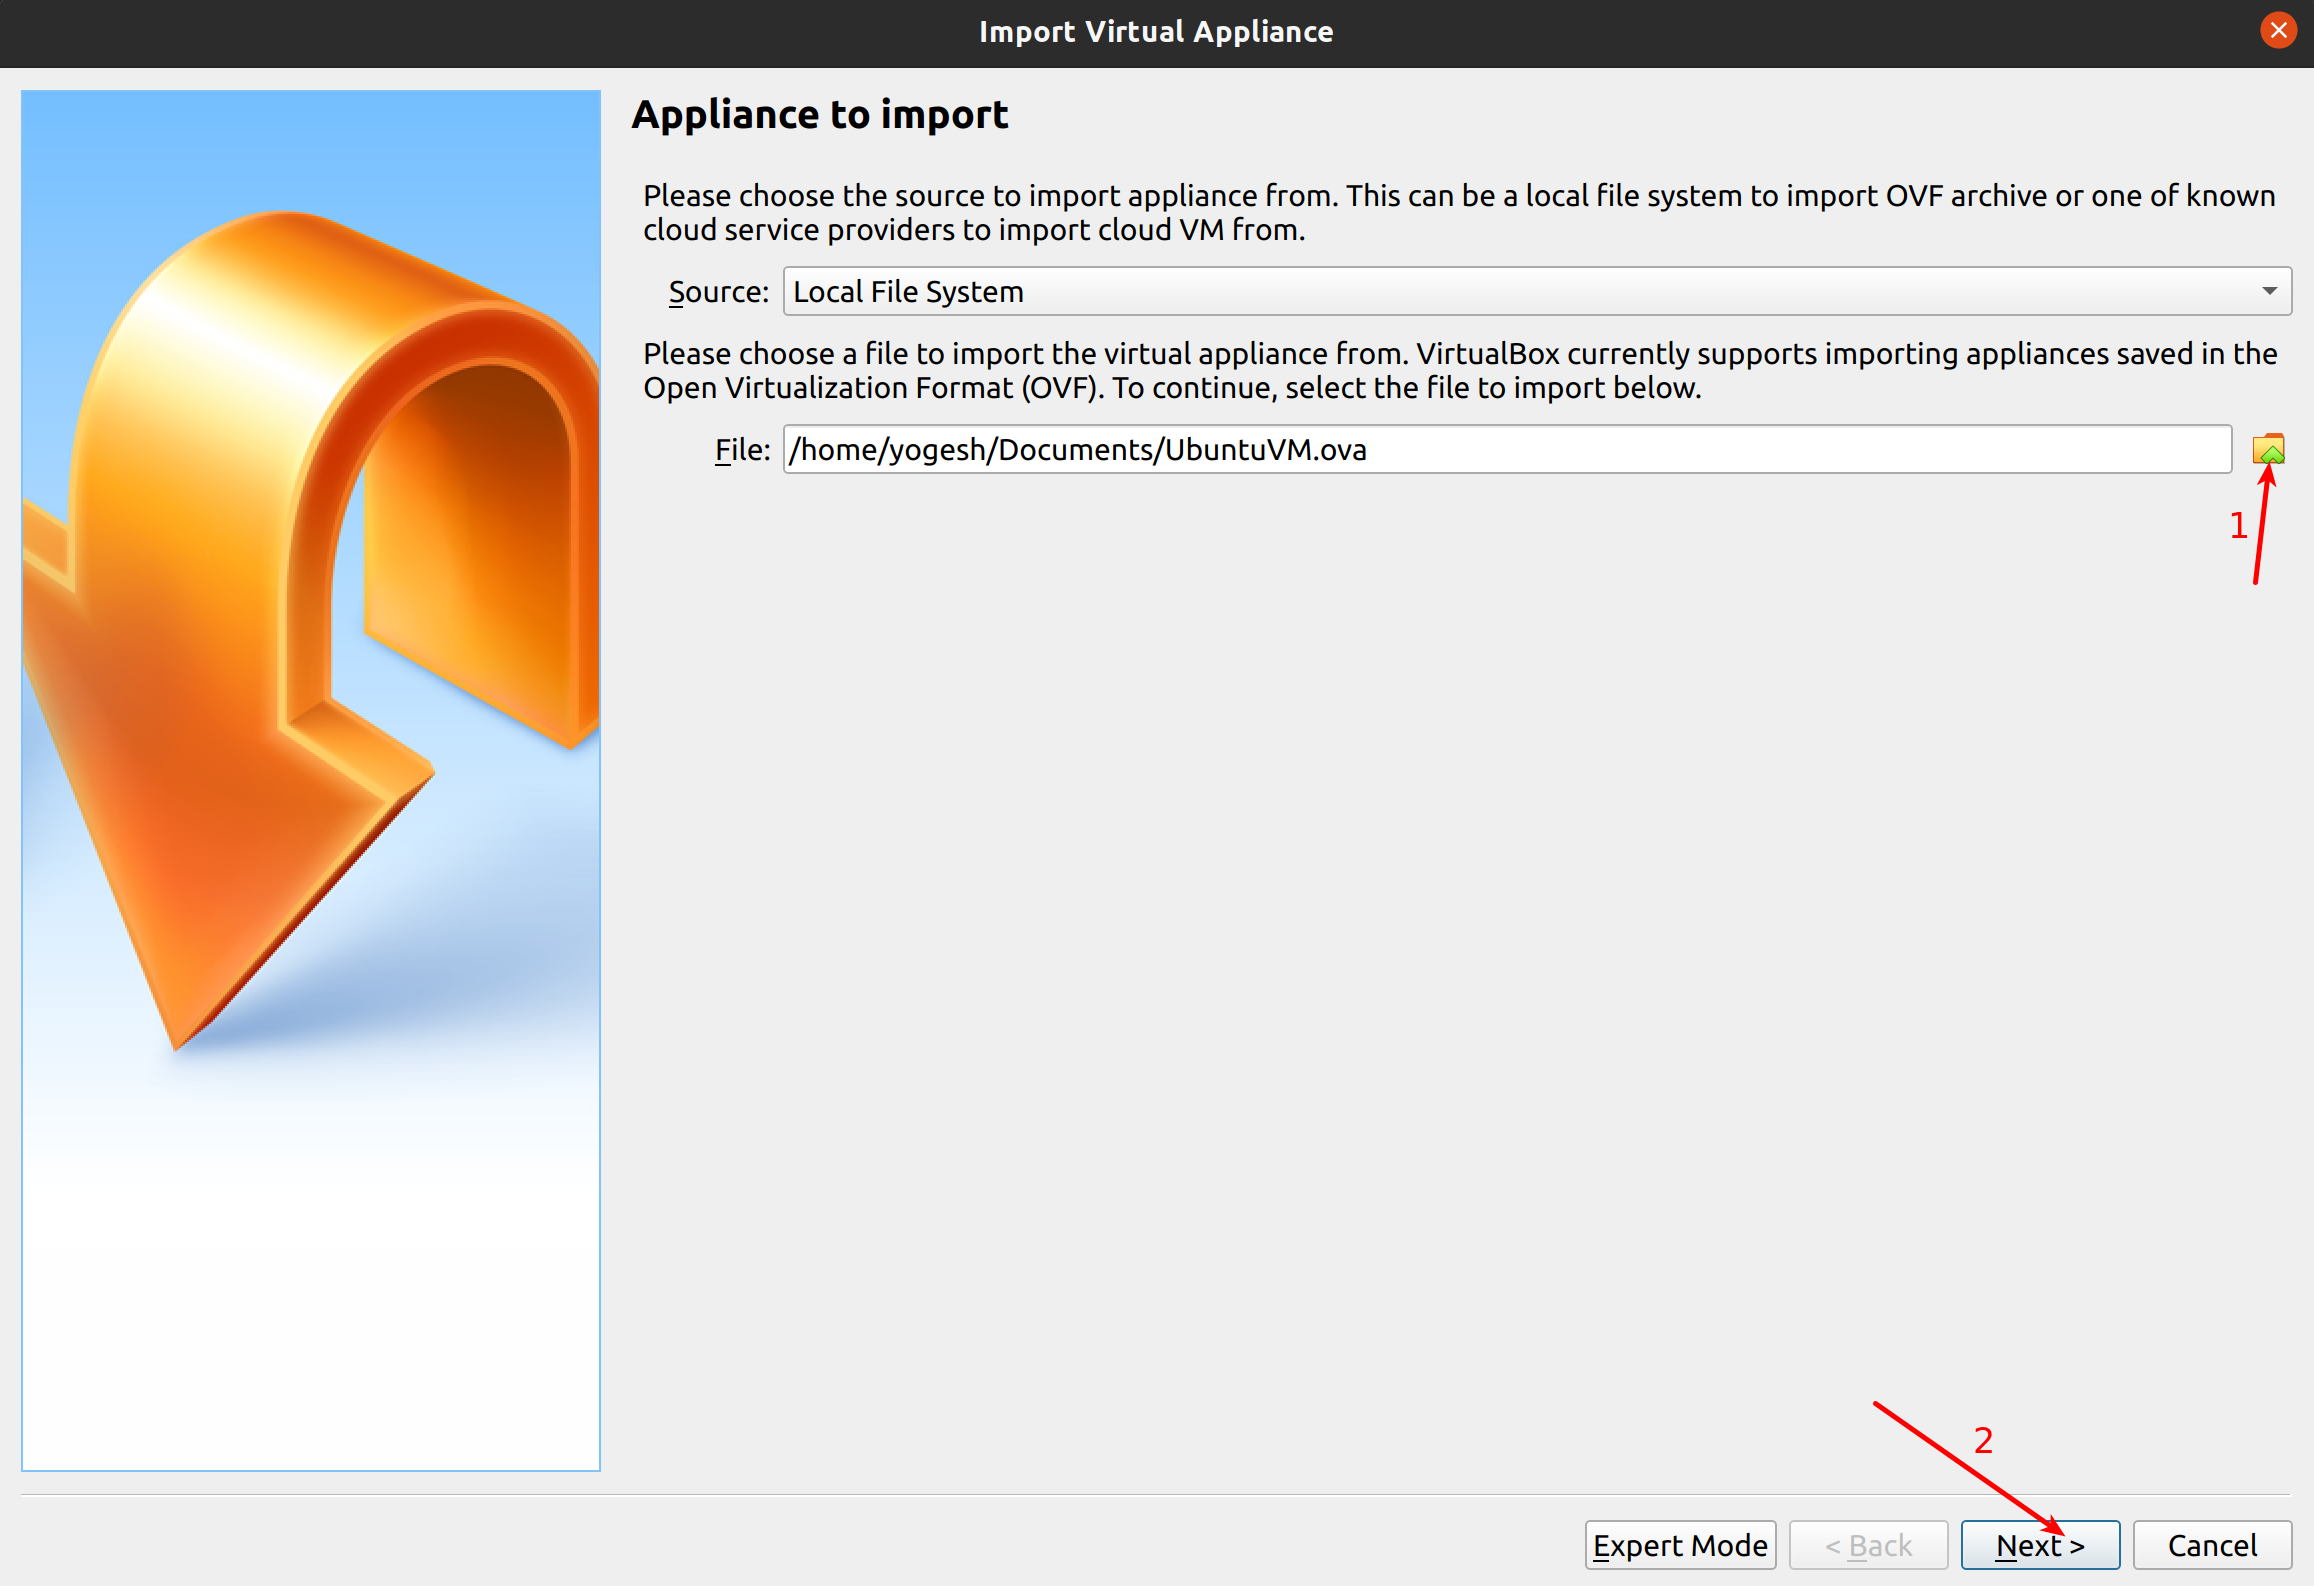
Select the
UbuntuVM.ovain the File option. Click on Next.![vm2]()
-
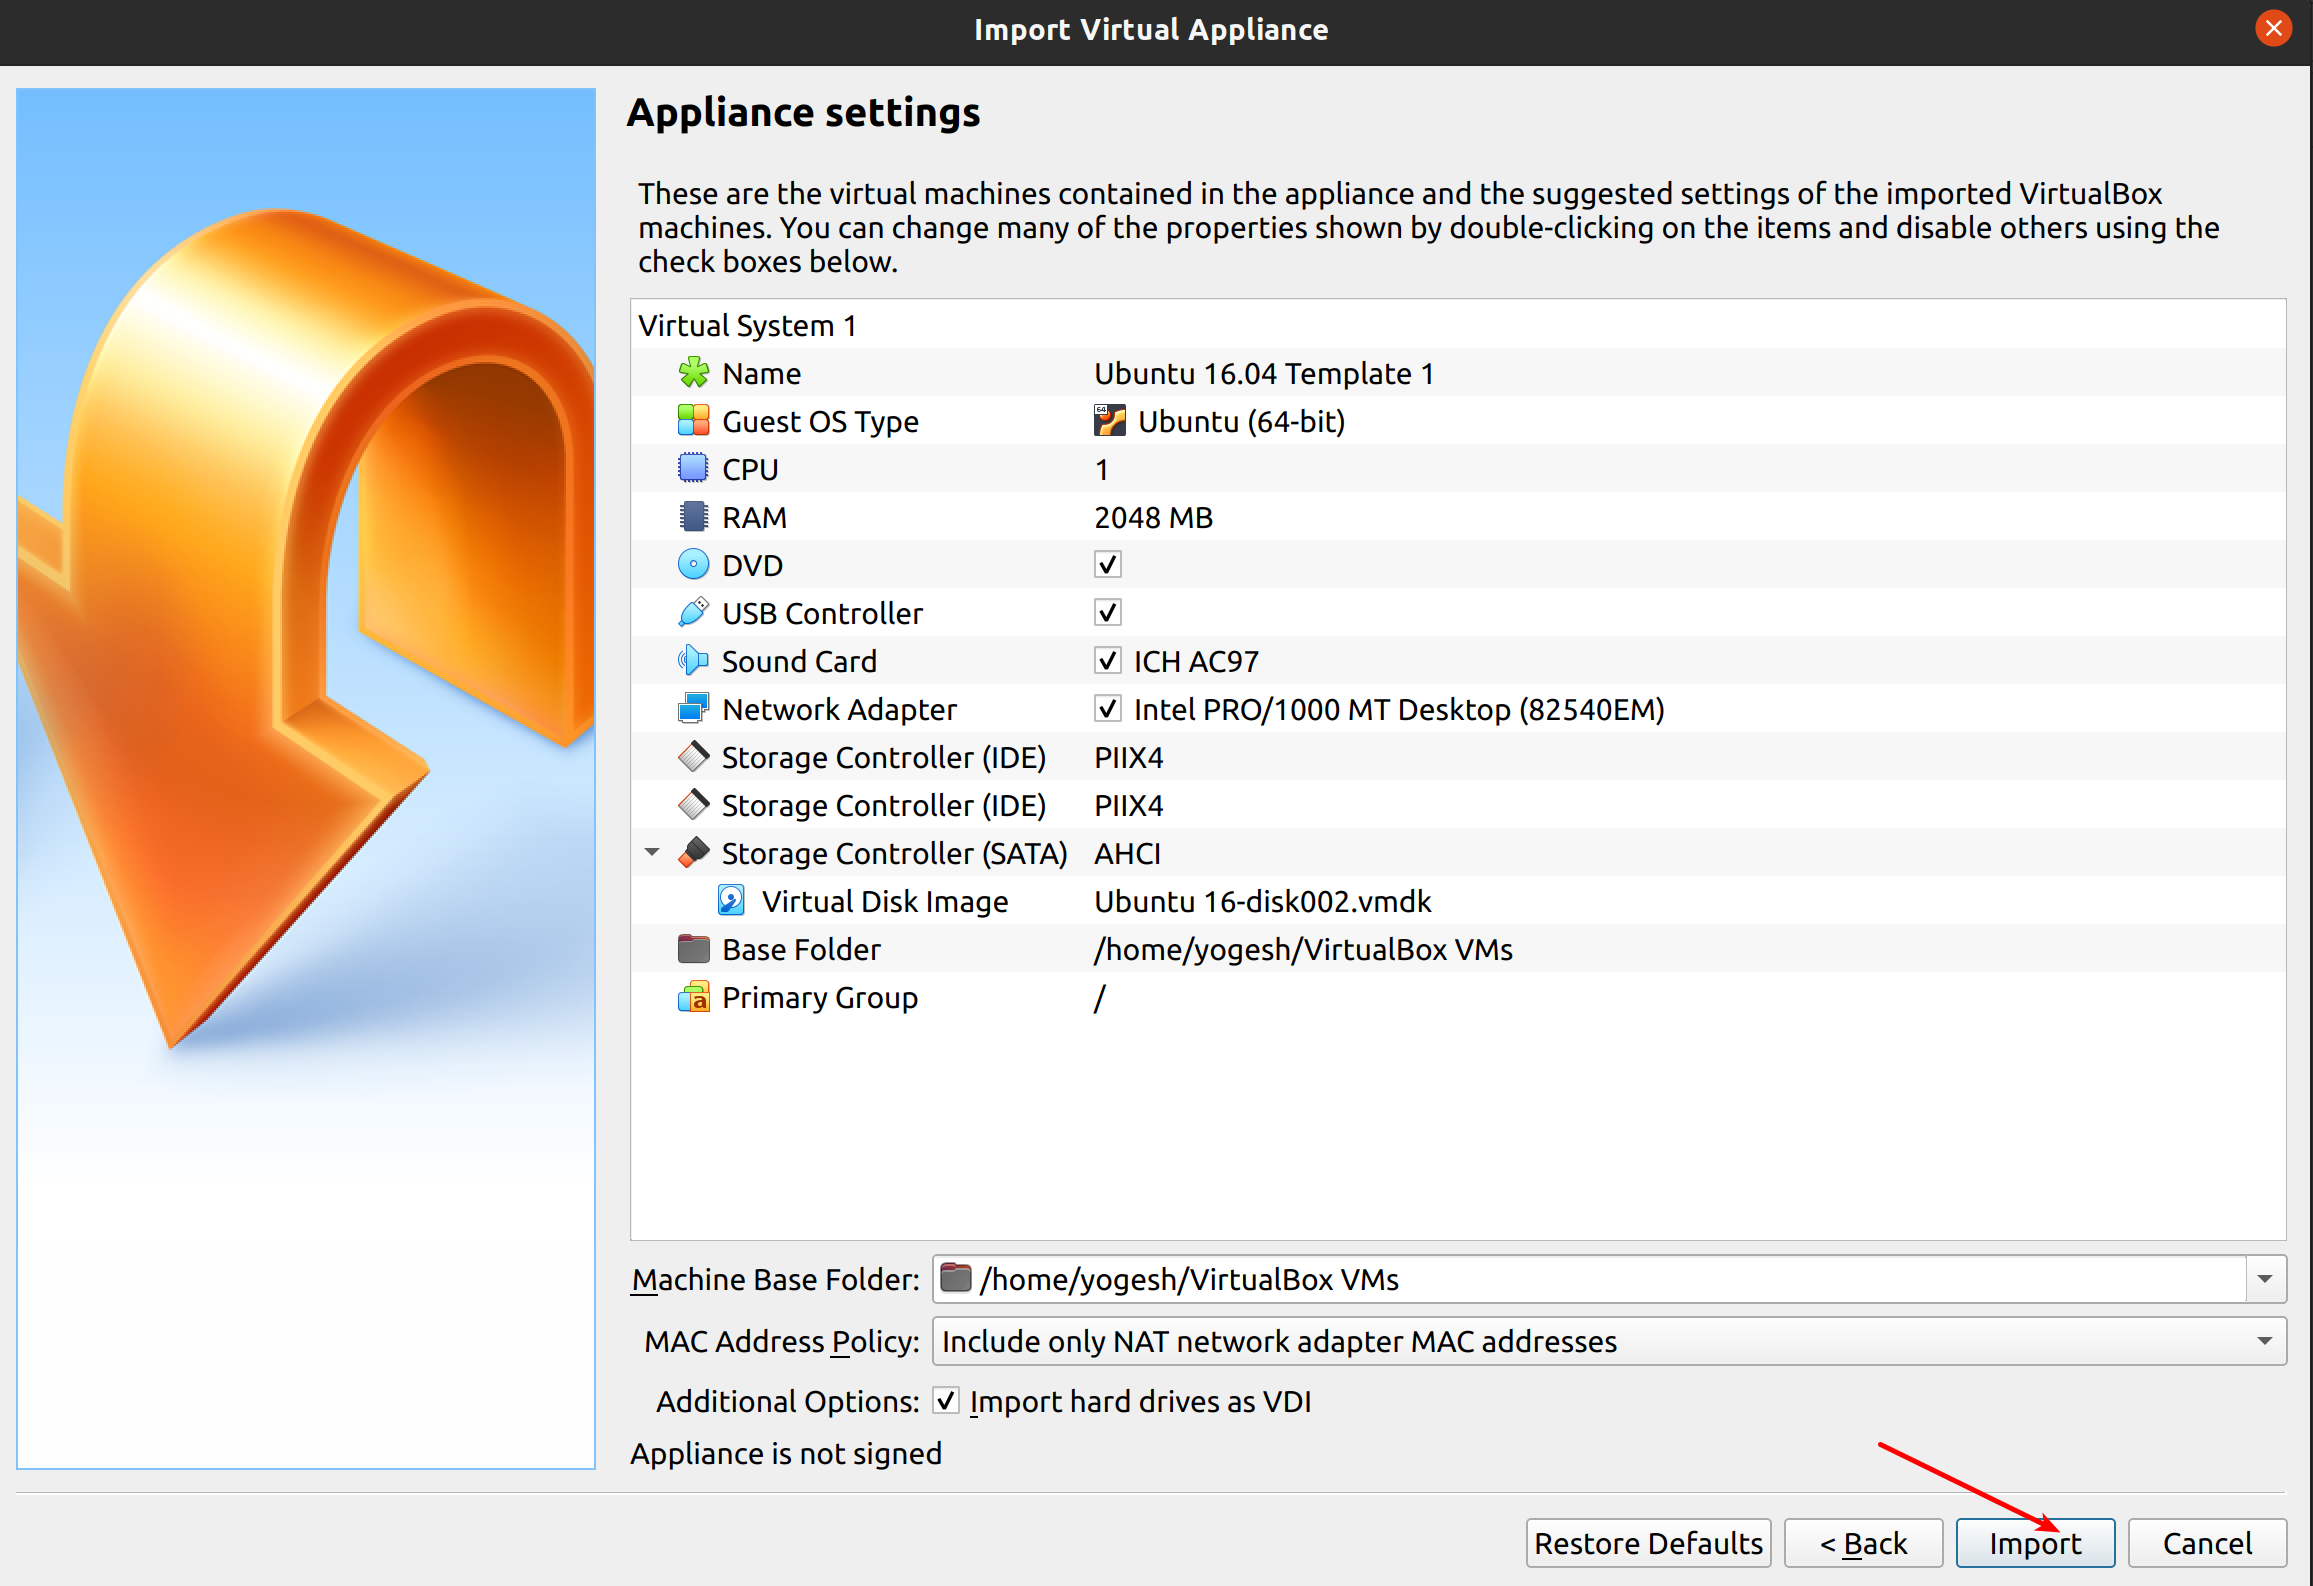
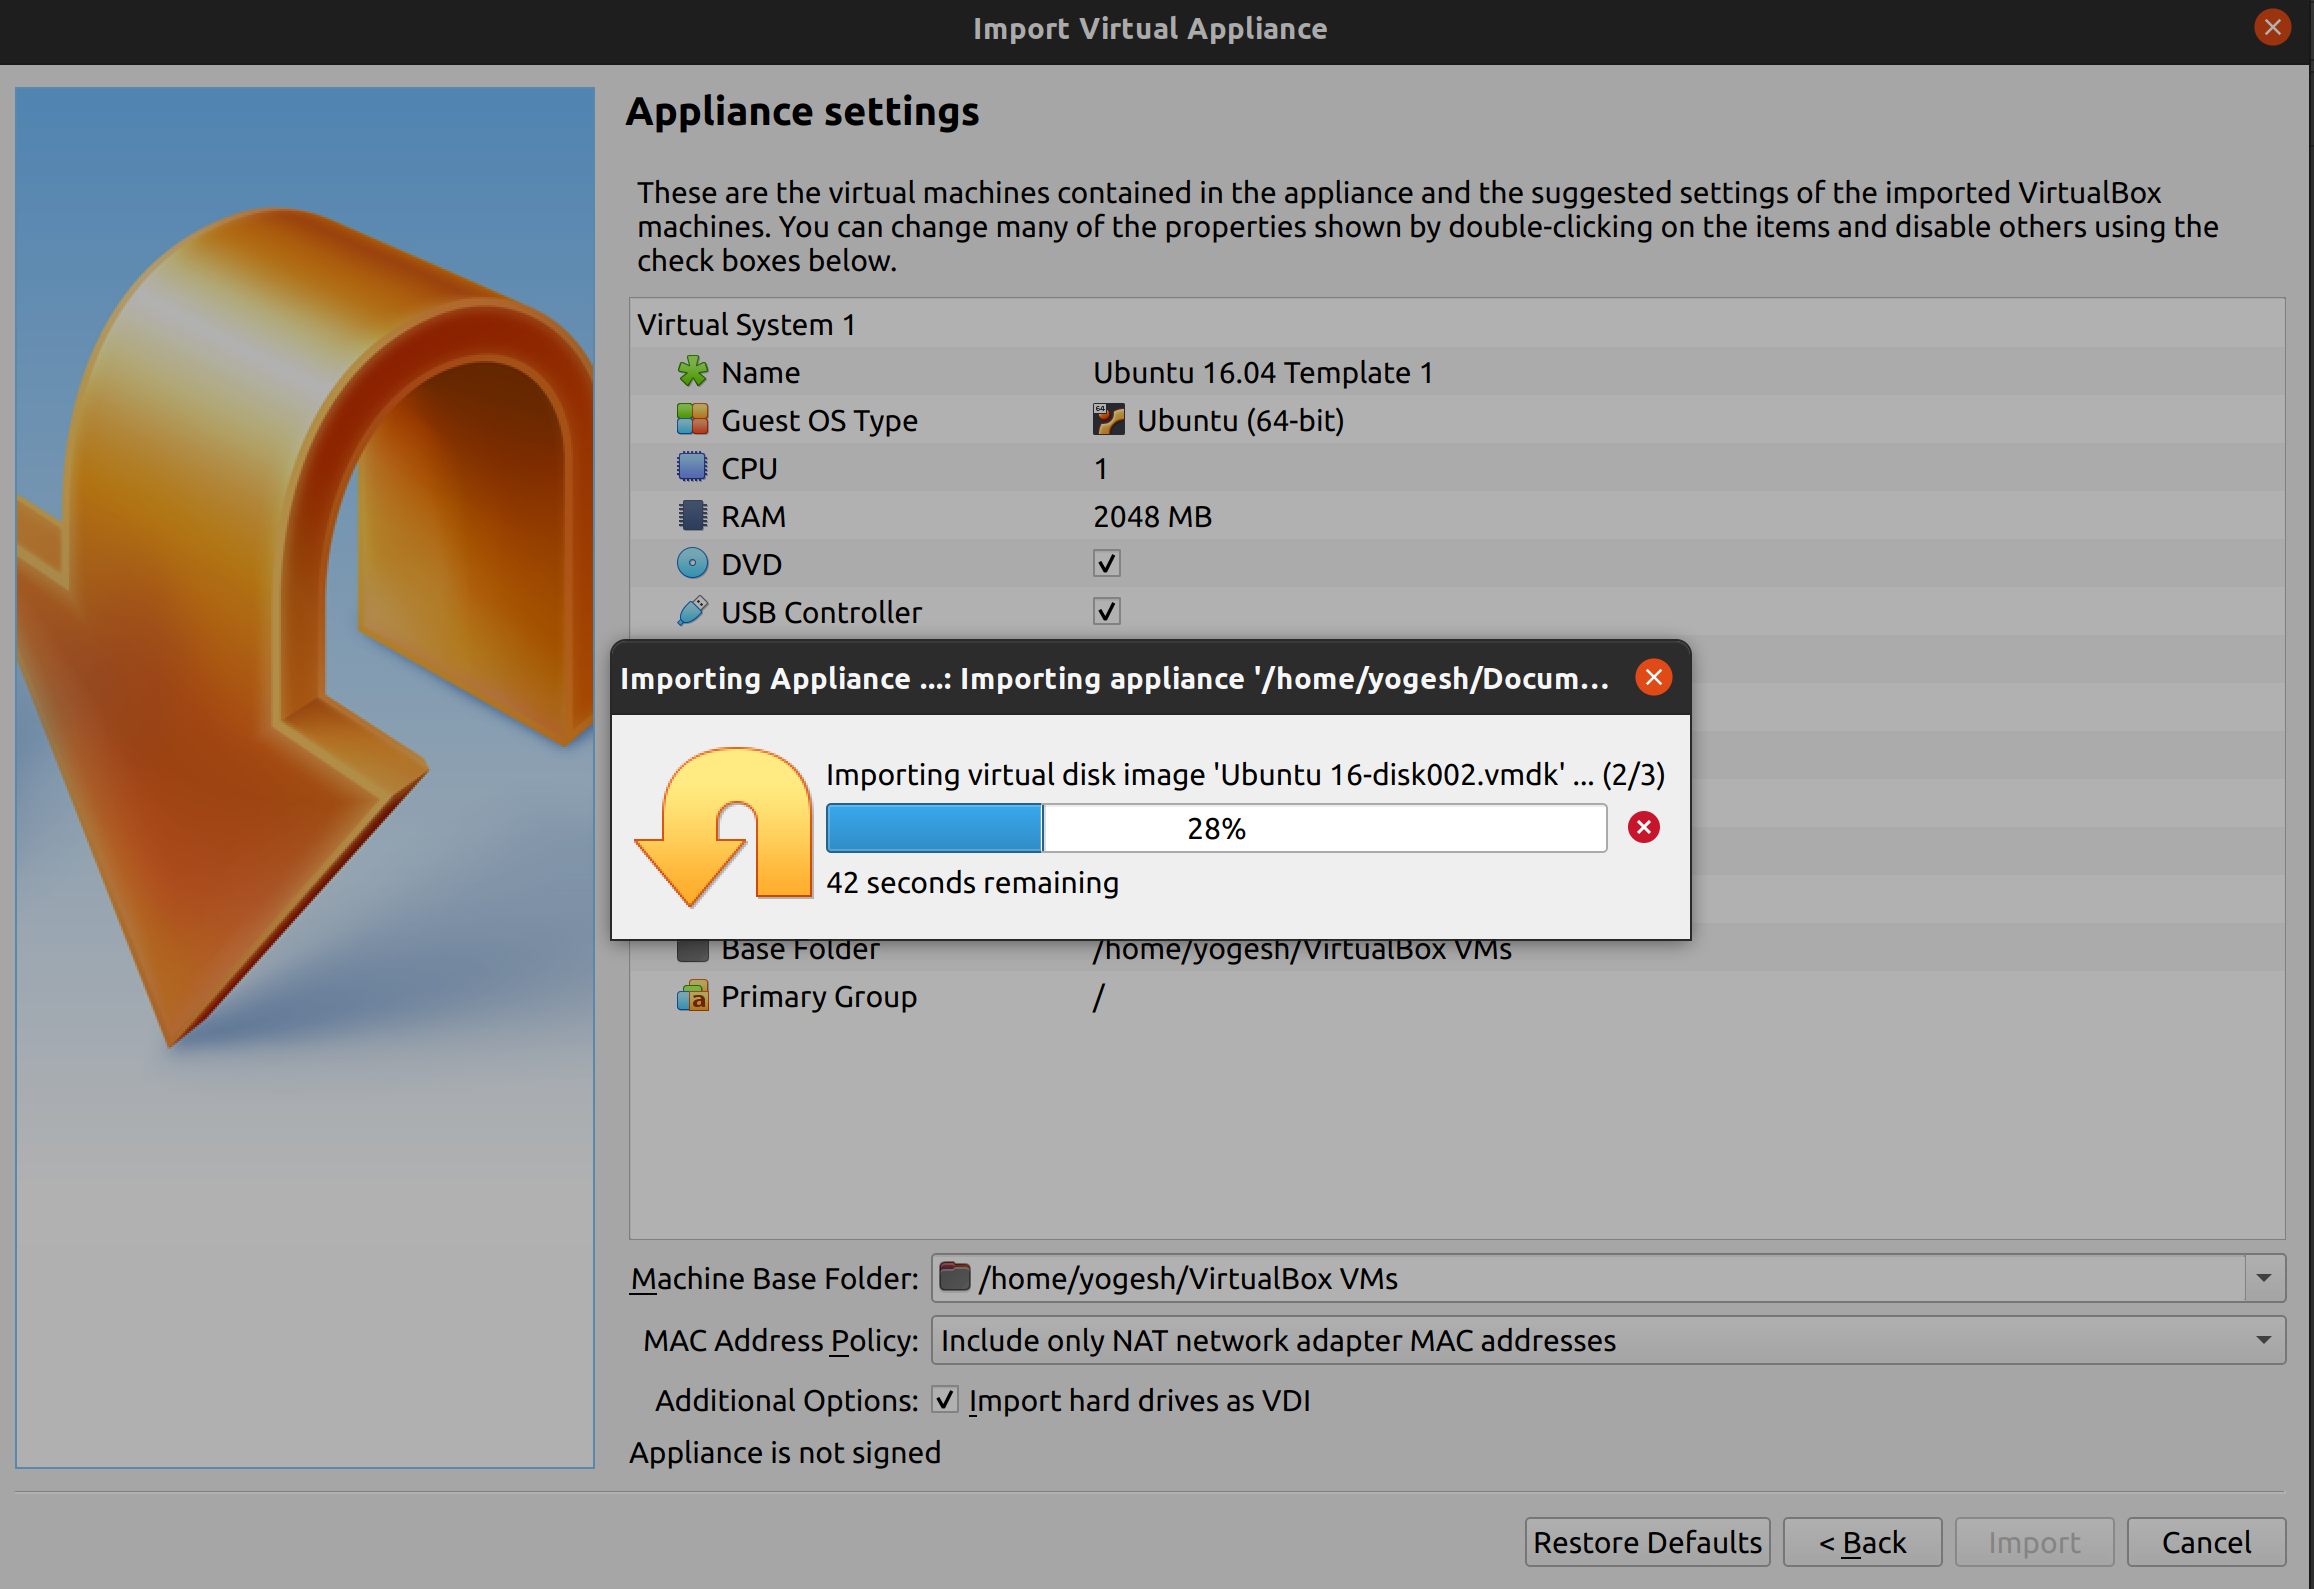
Click on Import to install Ubuntu 16.04 VM.
![vm3]()
-
Installing will take some time.
![vm4]()
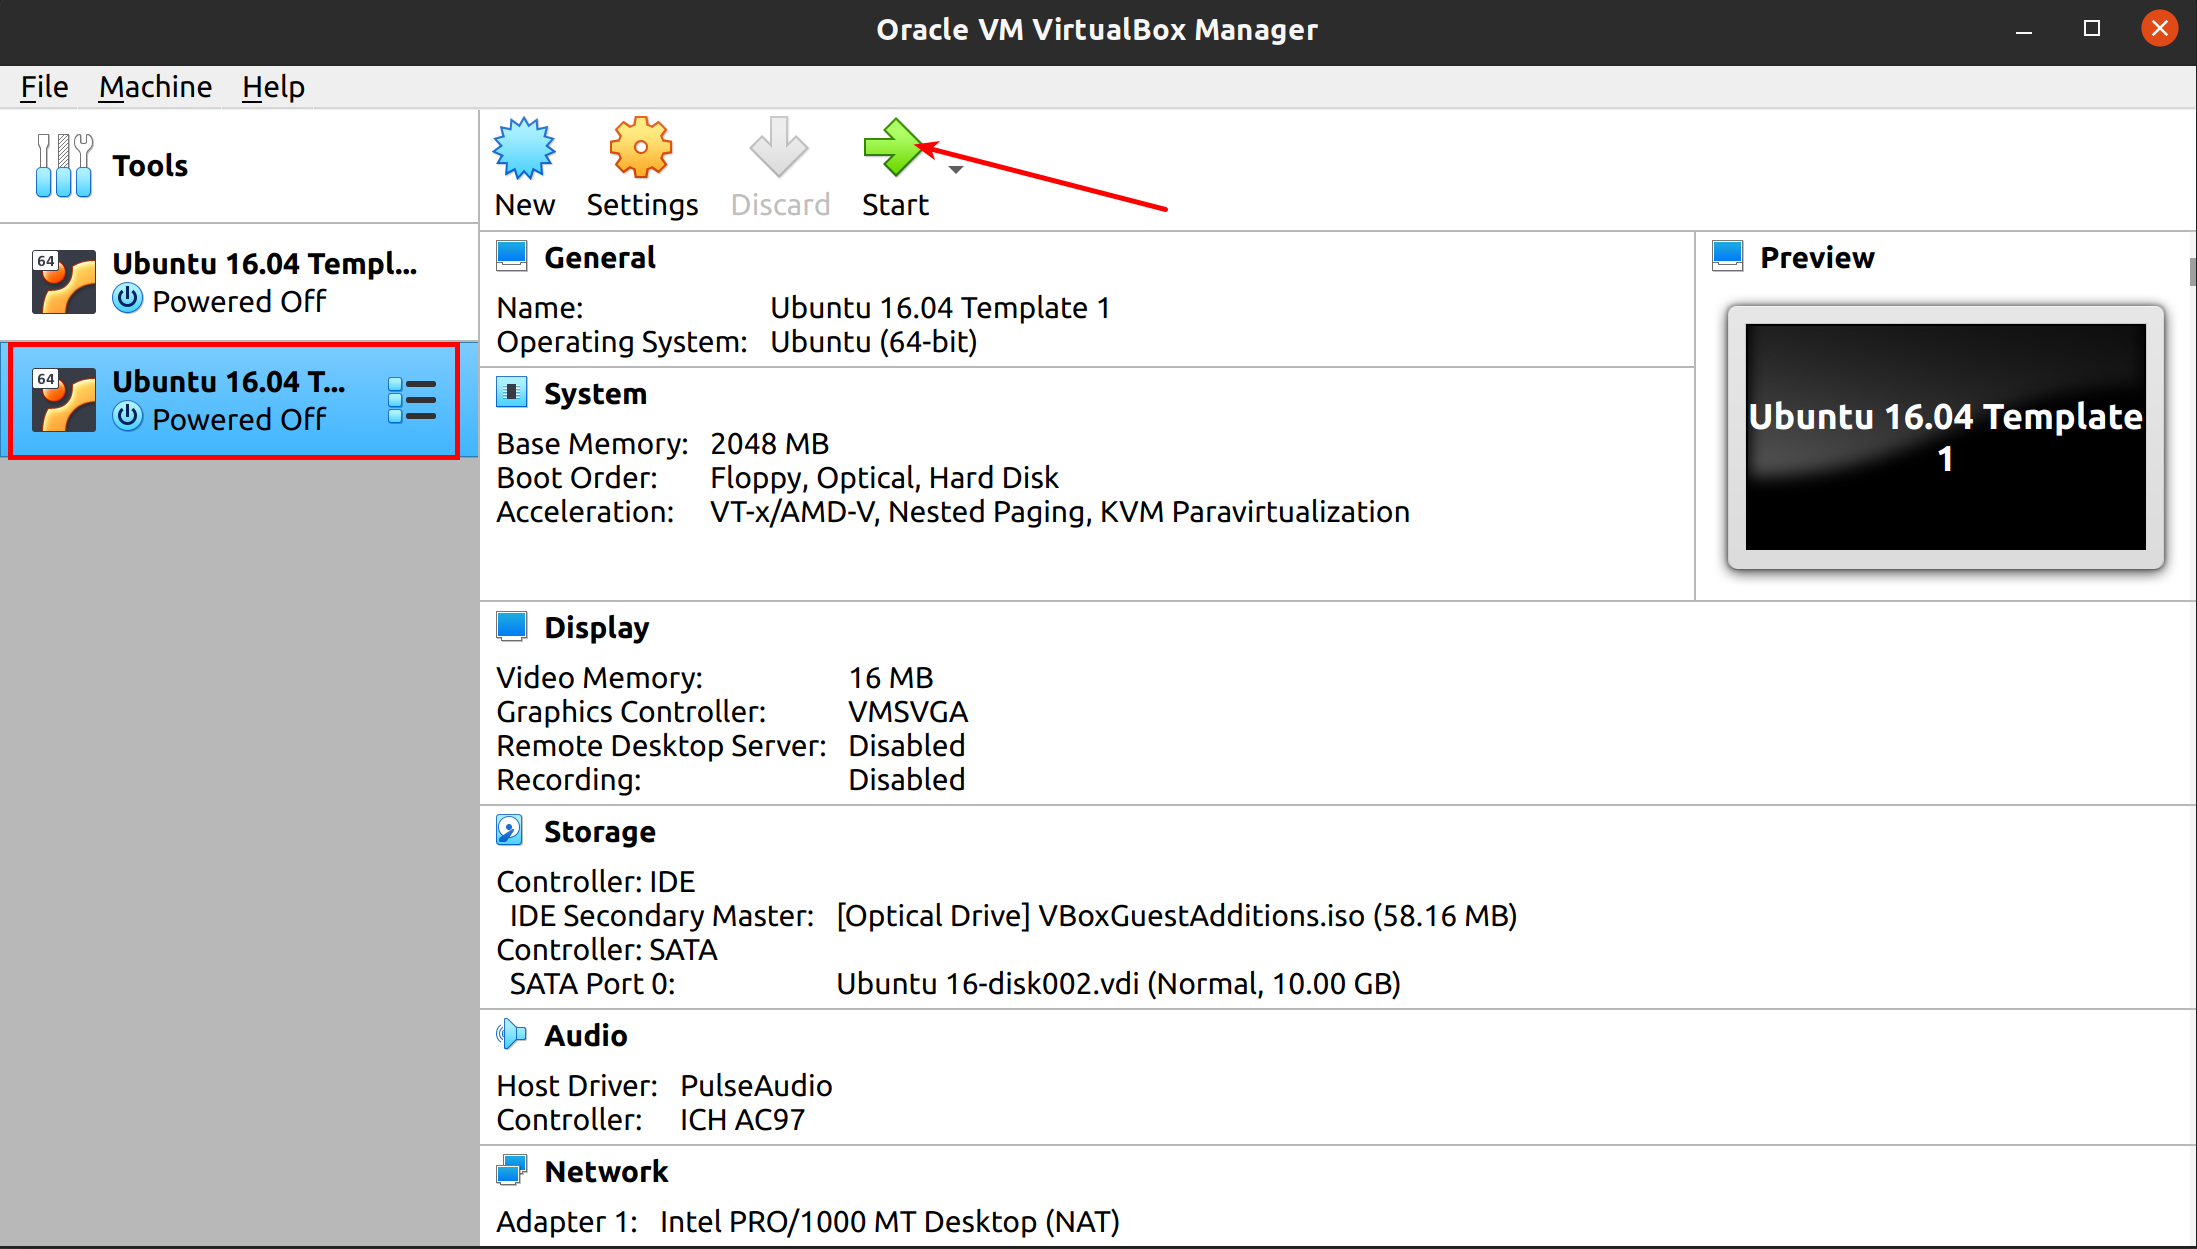
-
After the installtion is done you will see "Test Ubuntu" listed in your Virtualbox
![vm5]()
-
Click on Start to Start the Ubuntu VM.
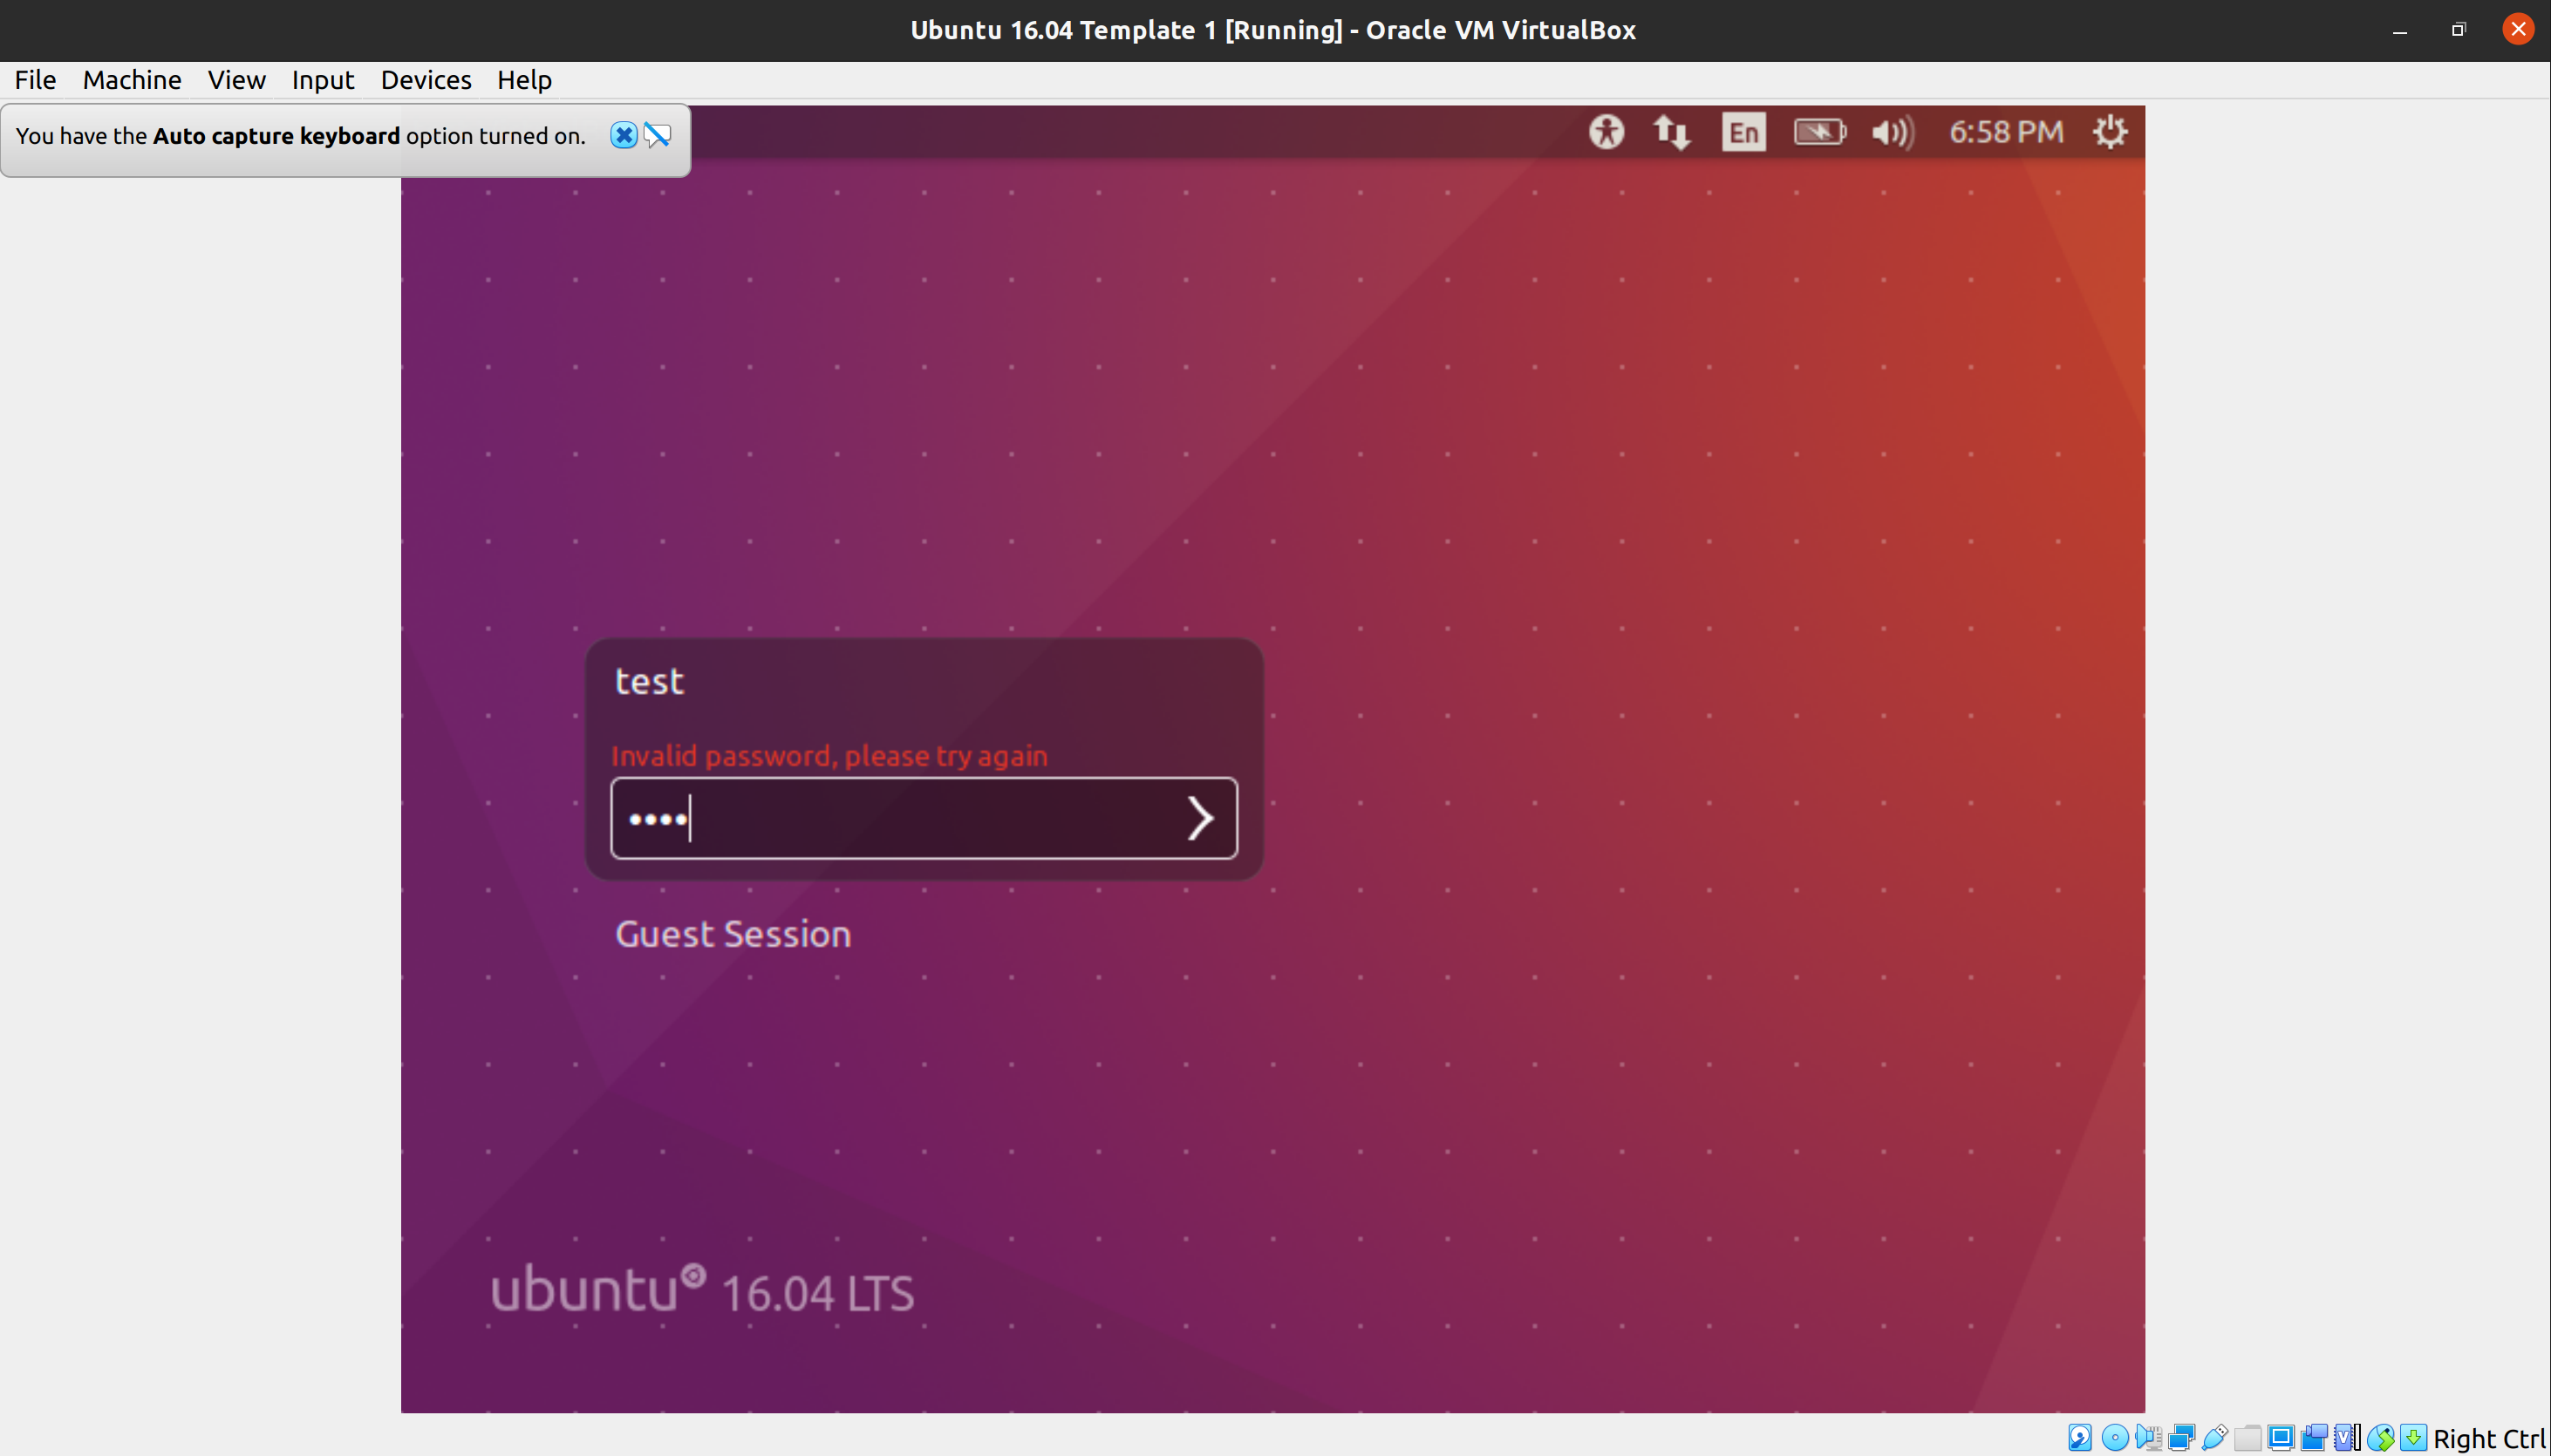
-
Login with password
test.![vm6]()
Installing Vscode
-
Make sure that you are inside the Ubuntu 16.04 VM.
-
Download VScode
.debfile from link - https://code.visualstudio.com/download -
Install VScode by double clicking on the
code_1.50.1-1602600906_amd64.debfile. -
Open VScode.
-
Select Extensions and Search for Remote Development.
![remote-develop]()
-
Install the Remote Development plug-in.
-
Once Installed you can exit the Vscode.